Wolverine #30 Direct Edition was published in September 1990 by Marvel Comics as the fourth part of "The Lazarus Project" storyline. In this story, Wolverine teams up with Karma and Target to get to the bottom of the "Master Form" mystery in Madripoor.
Plot details:
Wolverine and his allies return to Madripoor to investigate the "Master Form," a mystery connected to the Lazarus Project.
They confront the villainous Broker and Dr. Page in a lab, who have been repairing and upgrading a cyborg known as the Pinocchio Robot.
During a fierce battle, Wolverine realizes that the cyborg is not just a robot but contains the brain of Target's long-lost cousin, Rick.
Karma has a confrontation with her uncle, General Coy, who is eventually held responsible for the casualties caused by the Lazarus Project.
The elusive Broker manages to escape during the chaos, and the Master Form's secrets remain intact.
This issue was written by Jo Duffy, with art by Bill Jaaska and a cover by Mark Chiarello.

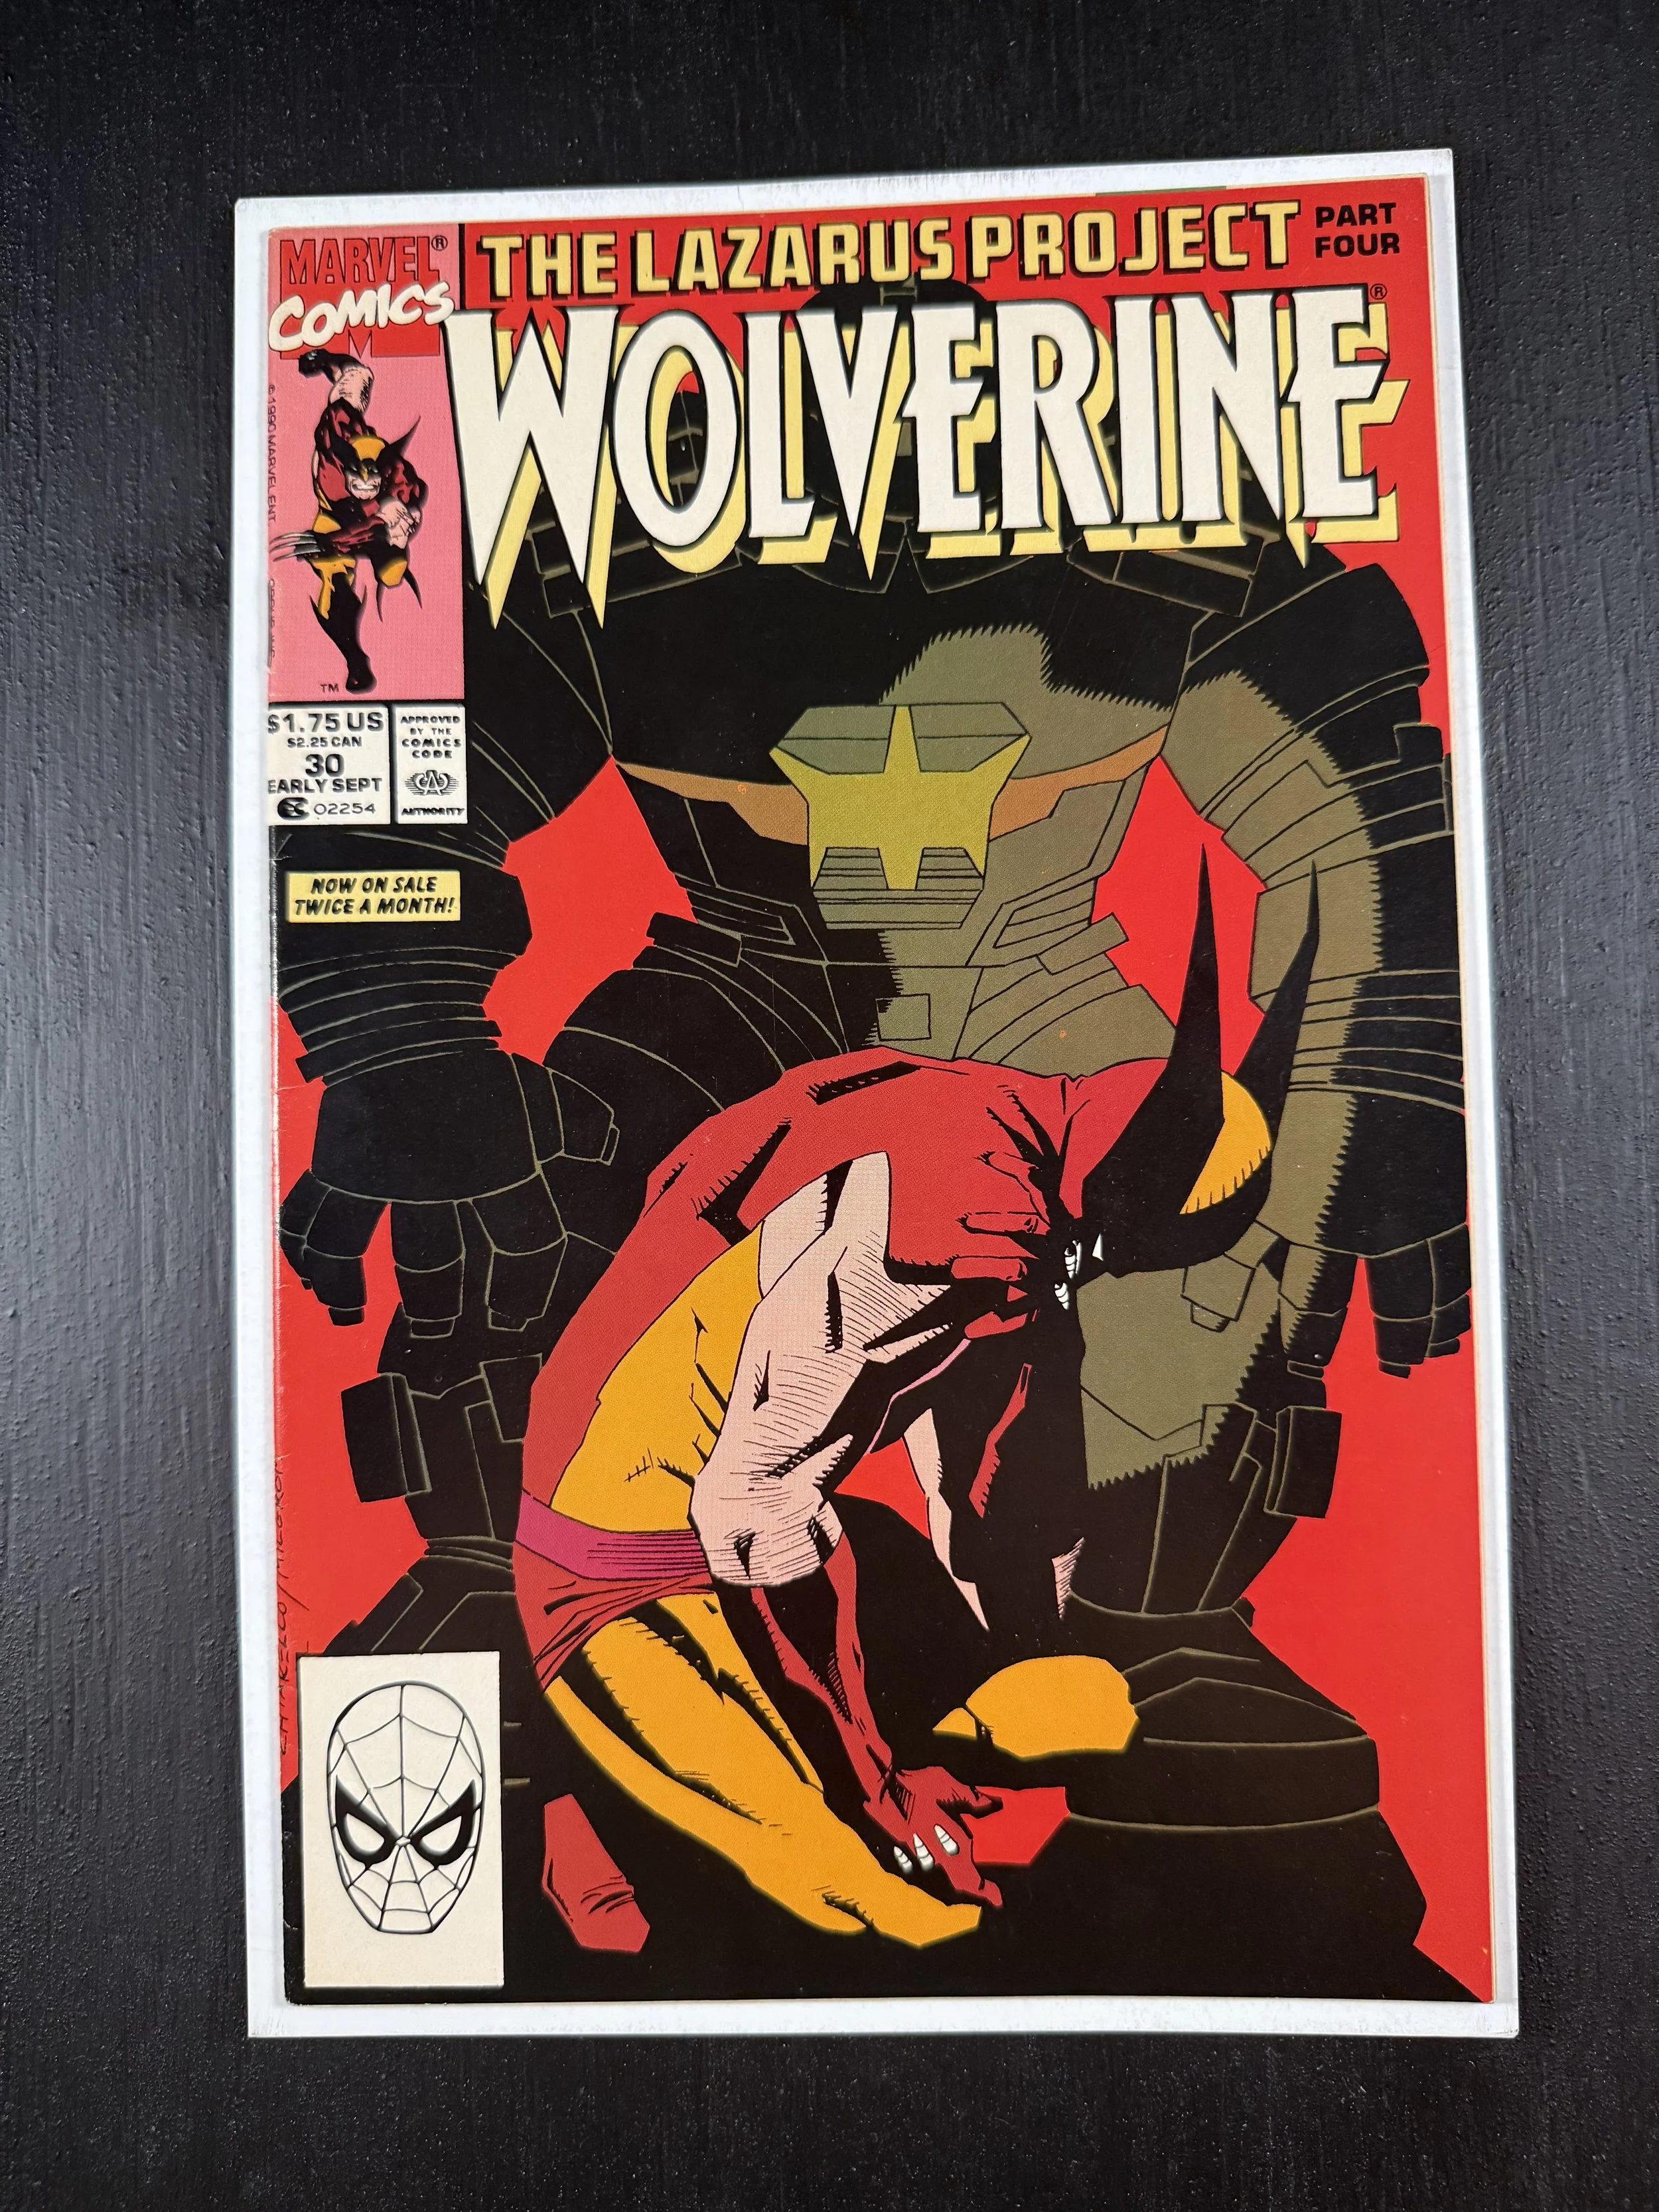 Image 1 of 10
 Image 2 of 10
 Image 3 of 10
 Image 4 of 10
 Image 5 of 10
 Image 6 of 10
 Image 7 of 10
 Image 8 of 10
 Image 9 of 10
 Image 10 of 10